Pages

Showing posts with label light volumes. Show all posts

Tuesday, 31 May 2011

Light volume sampling again

Recently I've been taking another look into how I render light volumes, I don't get nearly as much time as I'd like to work on this stuff these days but I've hit upon some improvements so I thought I'd write it up. 

The two primary issues I've come across with light volumes are light leaks and ensuring that the light volumes are padded so as to avoid issues with linear sampling. This post goes into a bit more detail about the issues I encountered and provides a bit more background to this post.

In a nutshell though, sampling a 3D scene at sparse regular intervals doesn't tend to yield very good results. Frequently the scene is sampled from behind geometry, causing light leaks and other issues.

My previous solution used a bunch of raycasts to determine the best new location for each sample point whenever there was scene geometry close by. Whilst this was an improvement it wasn't always effective and often required extra geometry to prevent light leaks. Another common problem occurred around hard geometry corners, with the new sample point often ending up on one side of a corner when really it needs to sample both sides. This tended to look quite bad in situations where the lighting differs substantially on either side of the geometry edge. The image below hopefully makes the problem clearer.

Problem: In this case the issue shows up as a sawtooth pattern on the darker side of the object.

Cause: The sample point can only be in one place at a time?

A solution: Split the sample point

A solution to this problem is to just split the sample point in cases like this. Because the lighting is evaluated and stored as the average amount of incoming light from six basic directions (+X,+Y,+Z,-X,-Y,-Z), we can separate the sample locations for each of these base vectors. If the light volume texel contains geometry then each sample direction moves to the closest face with the most similar geometry normal. If no similar normal is found then the sample points simply move to the closest face, regardless of it's geometry normal.


So this works pretty good but we're still left with the problem of linear sampling causing further light leaks. In other words, samples that don't contain geometry can still contribute their lighting information.

Previously I'd just use a very wide search radius for each sample, enough to take this effect into account, but this caused further problems as it wasn't always easy to predict where a sample would end up. To solve this I've implemented a post render padding stage, very similar to how light maps are padded, only in 3 dimensions. The padding process looks for texels that contain no geometry but that have neighbours which do. These "empty" texels are then set to contain the average lighting value of all there geometry containing neighbours. This has the effect of padding the light volume and removing the remaining light leaks.

Stepping through these issues and solutions using a simple scene we have:

A) No Fixes. 

No attempt to fix the sample locations or pad the light volume. Light leaks are a big problem here.

B) Sample points fixed. 

Fixing the sample locations certainly improves things, the point sampled version barely displays any light leaks but we still hit problems when using linear filtering.

C) Sample points fixed and volume padded. 

Finally, padding the light volume solves the remaining light leak issues and smooths the overall result.

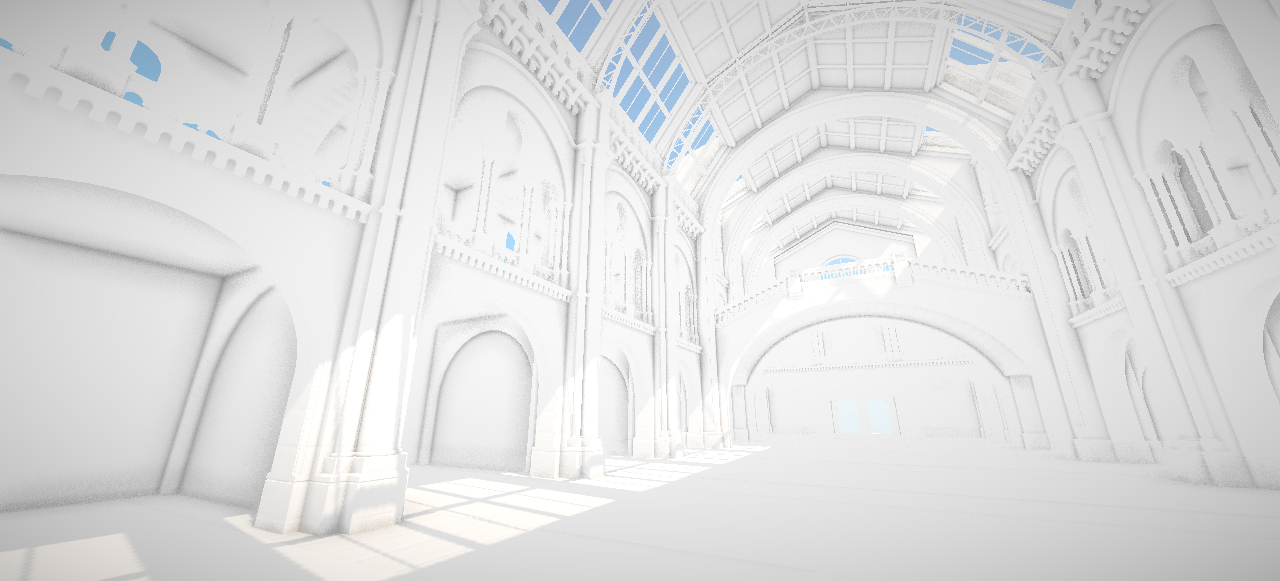
That example scene was pretty simple so there are some examples of more complex scenes below. Click for larger versions.


Sunday, 27 February 2011

Crash site - test shots

I've been working on matching the look of an earlier concept piece and these look development renders so I thought I'd post some results. I've added some basic fog to the static and skinned model shaders but apart from that the engine is unchanged. The colour correction system is doing most of the work in these shots and it's a lot of fun to work with. I think I've matched the overall look and I'm happy with the monoliths but the crashed pod isn't really working for me yet.


White diffuse lighting shots...


... and some alternate colour grading look tests. It's far too easy to get carried away and this was one of the tamer efforts :)

Sunday, 6 February 2011

Transparency experiments

I've been experimenting with transparency in the deferred engine I'm working on so I thought I'd share some tests. The alien model I used in these tests is the work of Leigh Bamforth and you can grab it here. The original model looks a lot cooler, I'm using a greatly simplified version here.

To begin with, all opaque geometry is drawn as usual. Looks a little weird but it's going somewhere :)


After this the first layer of transparency is drawn. This phase essentially uses the same technique as soft particles. An alpha value is calculated by comparing the depth in the existing frame buffer with the depth of the volume surface being rendered. This is calculated as follows

fade = saturate((scene_depth – surface_depth) * scale);

The surface takes it's colour by sampling the lighting volume at the surface position, along the view direction. This gives the effect of light scattering through the volume and can be seen below, with the light from the thin vertical windows illuminating the volume.


The final transparency stage adds a glass like surface layer and is much simpler. This shader is fairly straightforward as it only has to lookup a reflection map and calculate a fresnel term. The fresnel term is used to control the strength of the cubemap reflections and as an alpha value.


I've captured a video although the quality isn't the greatest. Apologies for the ever present cursor as well, I forgot to disable it before recording the clips in FRAPS.


A few more examples showing different volume colours and densities.


Et voila, lighting volumes now support pickled aliens in glass jars.

Saturday, 22 January 2011

Rust teaser (sort of) Part II

So my initial plan with the clip I posted last week was just to record a short sequence of the character I've been working on walking around, with everything lit by light volumes, and then do a write up on what had gone into making the sequence. I ended up getting carried away with the sequence and ran out of time so here's the write up!

Main Character

I've made some good progress on the main character but there's still a fair bit to do. I'd say the model is mostly done but the texture still needs work. Areas like the straps, hands and head haven't really been worked on yet so the texture you see here is pretty much a test run.

Still, I like where it's headed and it's been great to get a more complex model in to replace the robot I'd previously been using.

I thought I'd include an offline render of the high poly model as well (right). I haven't done much high poly character work to date so there's definitely been a learning curve but I'm happy with how the model is evolving.


Fun with deferred light types

I'd always planned for the character to wear some sort of light source and for lots of reasons but primarily it just looks cool. It's hard to think of a sci-fi film where the suits don't have some sort of moody light source (often blue) located just under the actors jawline so I wasn't about to buck the tradition :)

I wanted the light source to realistically illuminate both the character and the environment but it was hard to get both those properties without resorting to shadow maps. I thought I'd approach it slightly differently so I ended up using a single light source with two falloff factors (left). An omni directional, short range falloff provides local lighting to the character without affecting areas it shouldn't (like the opposite side of the body) whilst a hemispherical , medium range falloff illuminates the nearby environment.


Post Process Colour Correction

This has been on my list of things to try out for quite a while now so it was great to finally get it implemented. There aren't many resources on how this should be done but I think that's mostly due to it being quite a straightforward process. Using a pixels RGB value as a texture coordinate you simply sample a 3D texture containing the colour correction information. The image shows a few examples.


This opens up a massive range of colour correction options and any number of software packages can be used to create the 3D look up textures, often referred to as LUTs. The process is largely the same regardless of the software used and involves colour shifting both a reference image (usually an uncorrected screenshot of the game) and a flattened version of the LUT. The altered LUT is then sampled at runtime, reproducing the colour alterations made to the reference image. Below you can see how the sequence looked before and after colour correction with the flattened LUTs as overlays.


That's all folks

To wrap up I thought I'd post some un-textured shots of the scene as they always do a good job of showing off the lighting volumes.


Monday, 6 December 2010

SSAO

I recently decided it was time to take another look at SSAO as it's a technique that should complement lighting volumes quite well. Due to their sparse nature lighting volumes don't provide mid/high frequency lighting detail so SSAO should help add some of that lost lighting detail back into the scene.

There's already been a heck of a lot written about SSAO and I don't have much more to add so my plan is to keep this post fairly brief. My first implementation attempts were several years ago now and although the results were okay the shaders were pretty complicated. They often involved sampling both normal and depth buffers, reconstructing 3D positions and also required lots of per pixel matrix multiplications. The technique shown here only requires a depth buffer and is quite straight forward to implement. You can read all about it in Rendering techniques in Toy Story III on the Advances in Real-Time Rendering in 3D Graphics and Games  SIGGRAPH 2010 page.

For these shots I'm using a total of 32 SSAO samples per pixel. If that gets to be too much of a frame rate killer I can dial it back but for now it's looking pretty good. The SSAO only affects the ambient light provided by the light volume, direct light remains unaffected.

Isolated SSAO


SSAO with light volumes


Full lighting with textures


The original museum model, complete with some awesome dinosaur skeletons which aren't featured here, was built by Alvaro Luna Bautista and Joel Anderson and can be found at http://www.3drender.com/challenges/. I also used some textures from the crytek sponza scene which you can grab here http://www.crytek.com/cryengine/cryengine3/downloads.

Monday, 29 November 2010

Light Volumes - Natural History Museum

Moving on from the sponza scene I was keen to see how well lighting volumes would cope with a larger and more complex environment. The most complex scene I had to hand was this Natural History Museum model, more details of which can be found at the end of the post. I've been meaning to test Bluestone with this scene for quite some time so I thought I'd post the results.

After settling on a volume size of 128x64x64 it was then a case of finding and eliminating light leaks. This largely involves cloning walls and floors between areas of high contrast to prevent samples from bleeding. It's a pain but fairly straightforward and with a high enough volume density is only necessary in a few key areas. Where I to increase the volume size to 256x128x128 then the light leak issue would probably solve itself, shortly followed by sparks flying out of my graphics card.


For these shots I'm also trialling the use of six separate colours per voxel. In previous light volume posts I was storing one colour value and six luminance values. It remains to be seen if this approach will be practical in the long term but it definitely looks nicer. These screen shots are all taken directly from an XNA based rendering test bed. The test bed is largely unoptimised and was running the scene at about 20-30fps. 


The lighting volume was rendered in Bluestone and took about 12 minutes in total. As it's a light volume we have lighting information for the entire space so giant animated robots are easily supported...


...stay tuned for a video :)

The original museum model, complete with some awesome dinosaur skeletons which aren't featured here, was built by Alvaro Luna Bautista and Joel Anderson and can be found at http://www.3drender.com/challenges/. I also used some textures from the crytek sponza scene which you can grab here http://www.crytek.com/cryengine/cryengine3/downloads.