Pages

Thursday 23 December 2010

Anti aliasing

I've wanted to implement  some form of anti aliasing for a while now so I took a break from playing through the recent Humble Indie Bundle and looked into it. There are several different options when it comes to AA in deferred rendering so I've started with what seemed to be the easiest. The method I've used here is the one outlined in GPU Gems: Deferred Shading in Tabula Rasa and I haven't really deviated from that article with regards to AA.

I also took the opportunity to look into applying a post process sharpen to the overall image. The method is known as unsharp masking and it's an effect a lot of digital artists use to spruce up their images. It goes back further actually and I was surprised to learn that the technique was pioneered in conventional photographic darkrooms.

You can see some examples of AA and unsharp masking below. Be sure to view them full screen without any scaling as the difference is hard to spot when the images are down sampled. In some areas the sharpen effect over sharpens fine details and increases the aliasing problem although for the most part the effect is an improvement.


Fullscreen examples (click for larger versions)


With AA
No AA


With AA

No AA


With AA
No AA


Well that was fun, back to playing Cortex Command... sniping the engines off drop ships never get's boring ;)

Monday 13 December 2010

Concept Art - Starman

It's concept time again :) This time around it's a concept for Rusts protagonist who for now I'm just calling the Starman. This is my second attempt at the character, you can (sort of) see the first version in this concept. That version was more futuristic looking but I like the lo-fi direction this is heading in, if you can call a space suit lo-fi!
Like most of the concepts I've posted so far I started out with a 3D render, which you can see below. I often find this to be the fastest way to work as it gives you a very solid base to start from.

Monday 6 December 2010

SSAO

I recently decided it was time to take another look at SSAO as it's a technique that should complement lighting volumes quite well. Due to their sparse nature lighting volumes don't provide mid/high frequency lighting detail so SSAO should help add some of that lost lighting detail back into the scene.

There's already been a heck of a lot written about SSAO and I don't have much more to add so my plan is to keep this post fairly brief. My first implementation attempts were several years ago now and although the results were okay the shaders were pretty complicated. They often involved sampling both normal and depth buffers, reconstructing 3D positions and also required lots of per pixel matrix multiplications. The technique shown here only requires a depth buffer and is quite straight forward to implement. You can read all about it in Rendering techniques in Toy Story III on the Advances in Real-Time Rendering in 3D Graphics and Games  SIGGRAPH 2010 page.

For these shots I'm using a total of 32 SSAO samples per pixel. If that gets to be too much of a frame rate killer I can dial it back but for now it's looking pretty good. The SSAO only affects the ambient light provided by the light volume, direct light remains unaffected.

Isolated SSAO


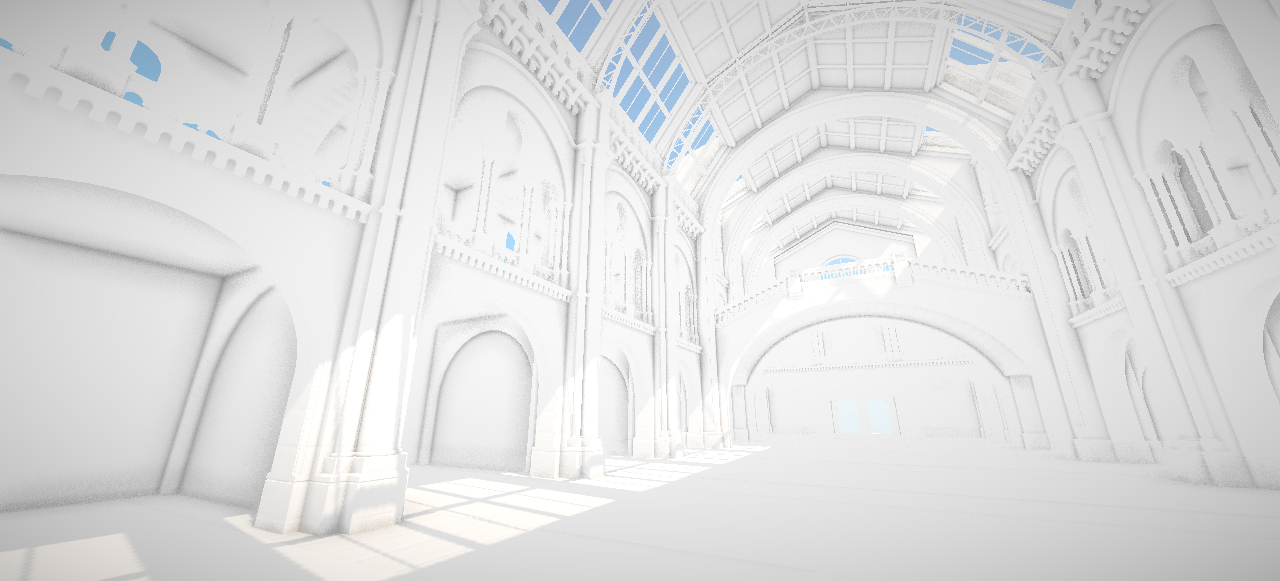
SSAO with light volumes


Full lighting with textures


The original museum model, complete with some awesome dinosaur skeletons which aren't featured here, was built by Alvaro Luna Bautista and Joel Anderson and can be found at http://www.3drender.com/challenges/. I also used some textures from the crytek sponza scene which you can grab here http://www.crytek.com/cryengine/cryengine3/downloads.